Please read the full article before beginning. There is important information throughout!
Importing from TeamUnify is easy! PoolMMS accepts a direct export from TeamUnify’s “Custom Report” feature. For information on how to use TeamUnify’s exporting feature, please visit their help documentation here.
Note: TeamUnify’s help documentation sometimes becomes unavailable for extended periods of time. If you are having this issue, please search “Custom report print or Excel – Member/Athlete or Account report of data” in the “Need Help?” menu in TeamUnify Back Office.
All members who you wish to import into TeamUnify must have a unique Swimmer Identity ID. If they do not have one, you must build one using TeamUnify. For instructions on how to do so, visit their help documentation here.
Note: TeamUnify’s help documentation sometimes becomes unavailable for extended periods of time. If you are having this issue, please search “Membership: Build ID Card” in the “Need Help?” menu in TeamUnify Back Office.
Selecting the Right Data
When importing from TeamUnify, it is important to ensure you export the correct data. If you are using TeamUnify’s recommended setup for member billing, members are split into groups using their Primary Billing Group in TeamUnify. This is the way that PoolMMS picks up your member data.
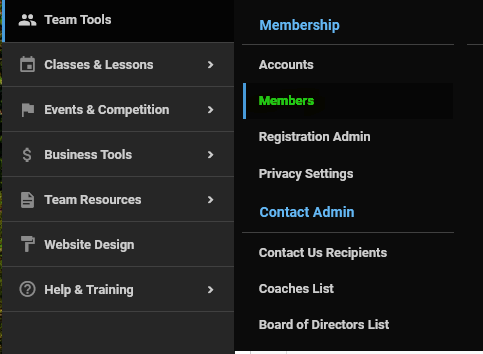
Step 1: Navigate to the Members list in BackOffice.
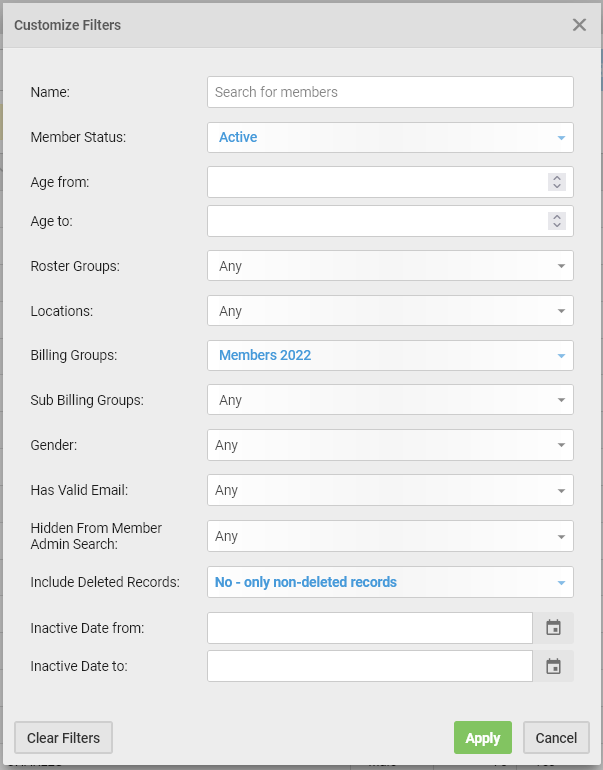
Step 2: Select Customize filters

Step 3: Select the Billing Group that applies to your members. If you have a special type of membership (ex: legacy, weekends only, etc.) select these as well.
Then click “Apply” you should now have a list of all of your active members.
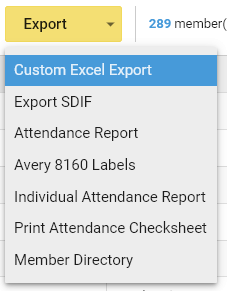
Step 4: Select all by clicking the checkbox, then click the newly-enabled “Export” button.

Step 5: Select “Custom Excel” export in the dropdown and set the exported fields to match the image below.
Correct Export Fields:
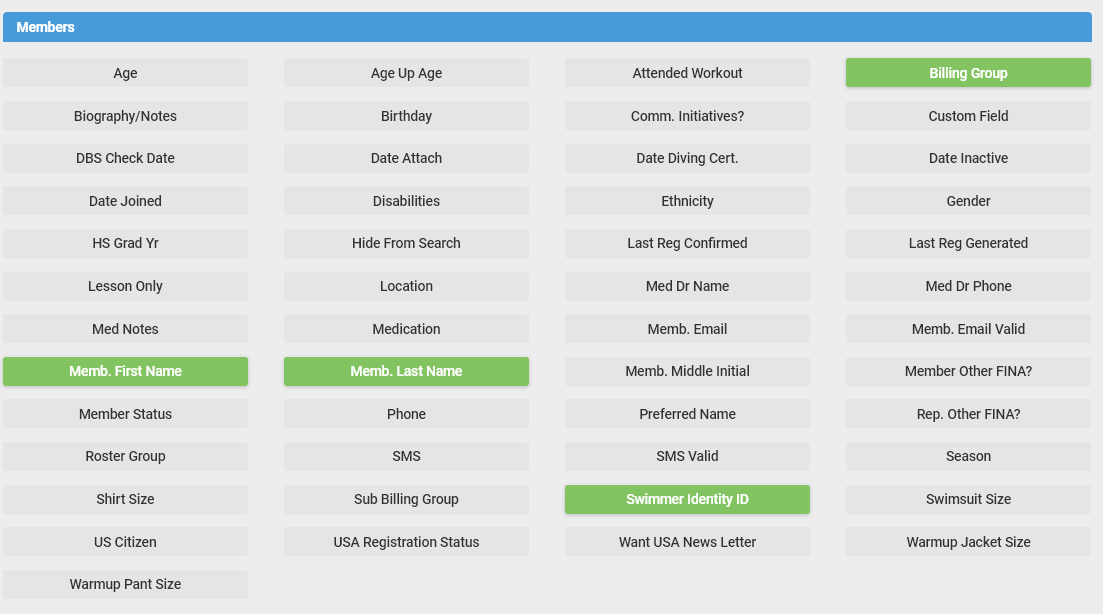
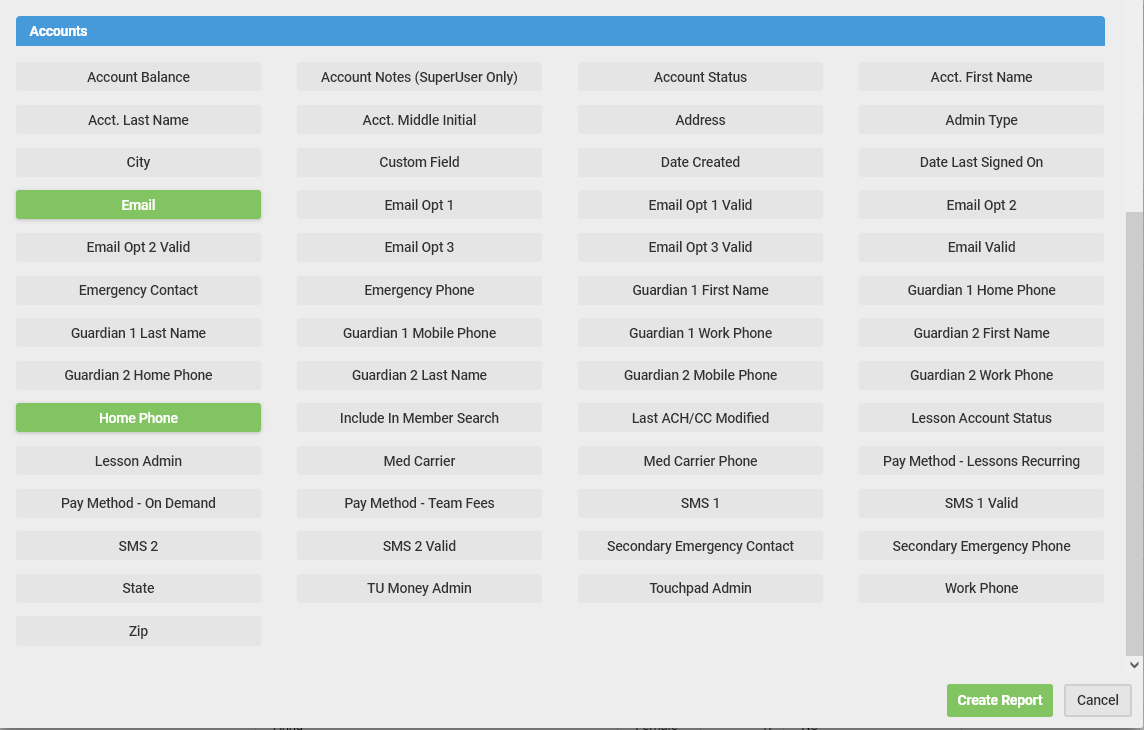
Step 5b: Check to ensure your export follows this format:

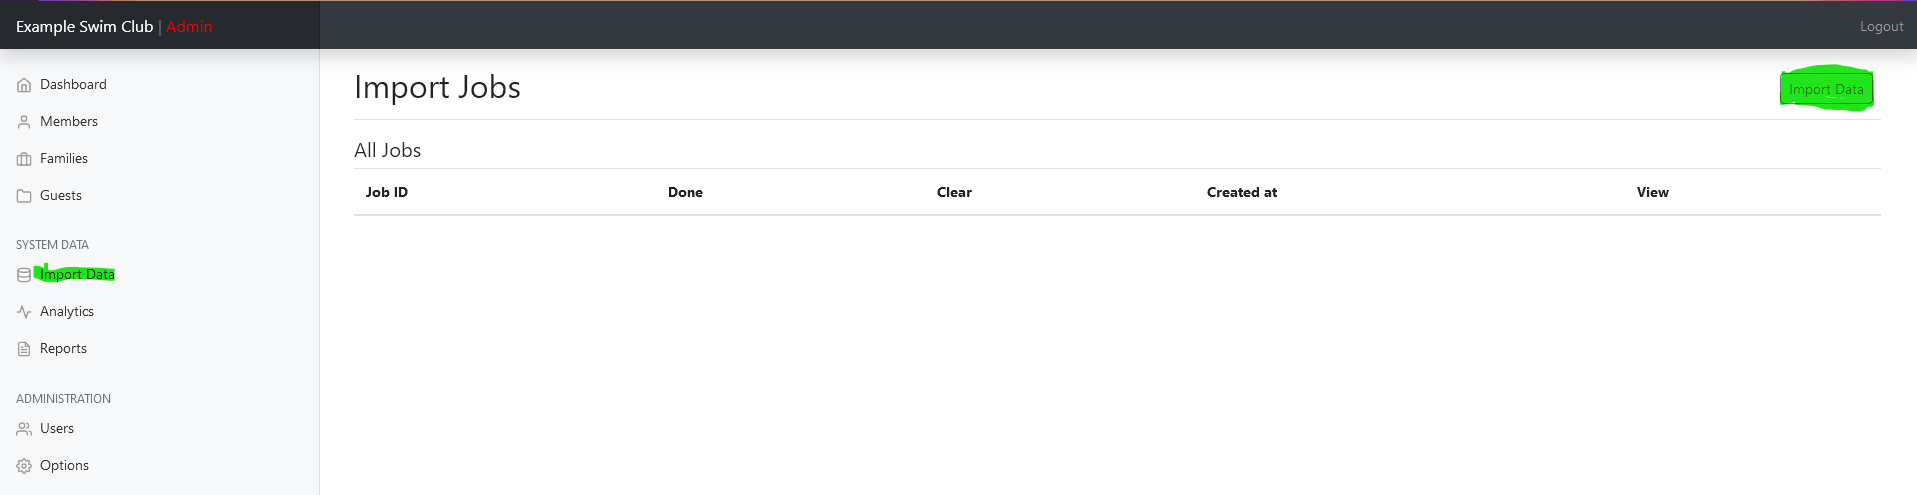
Step 6: Upload the newly downloaded file to PoolMMS.
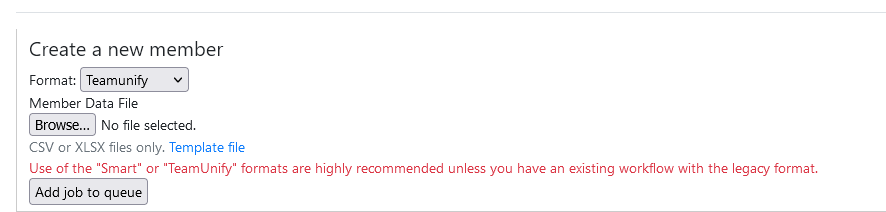
Step 7: Click the “Add job to queue” button! Your import will run and you are ready to go!
Step 8: Send out Initial Welcome Emails from the Families page in your Admin panel.